Friday, January 25, 2019

A Vintage Canvas Finally Done...

This piece has finally come together. It was pleasing to my eye, but dark, and "just needed something more.” It sat on my desk for weeks calling to me, and it finally hit me. I mull things over and over; I’m very slow to create. It drives me crazy but it’s who I am.

Here are a few of the shots I took along the way. 


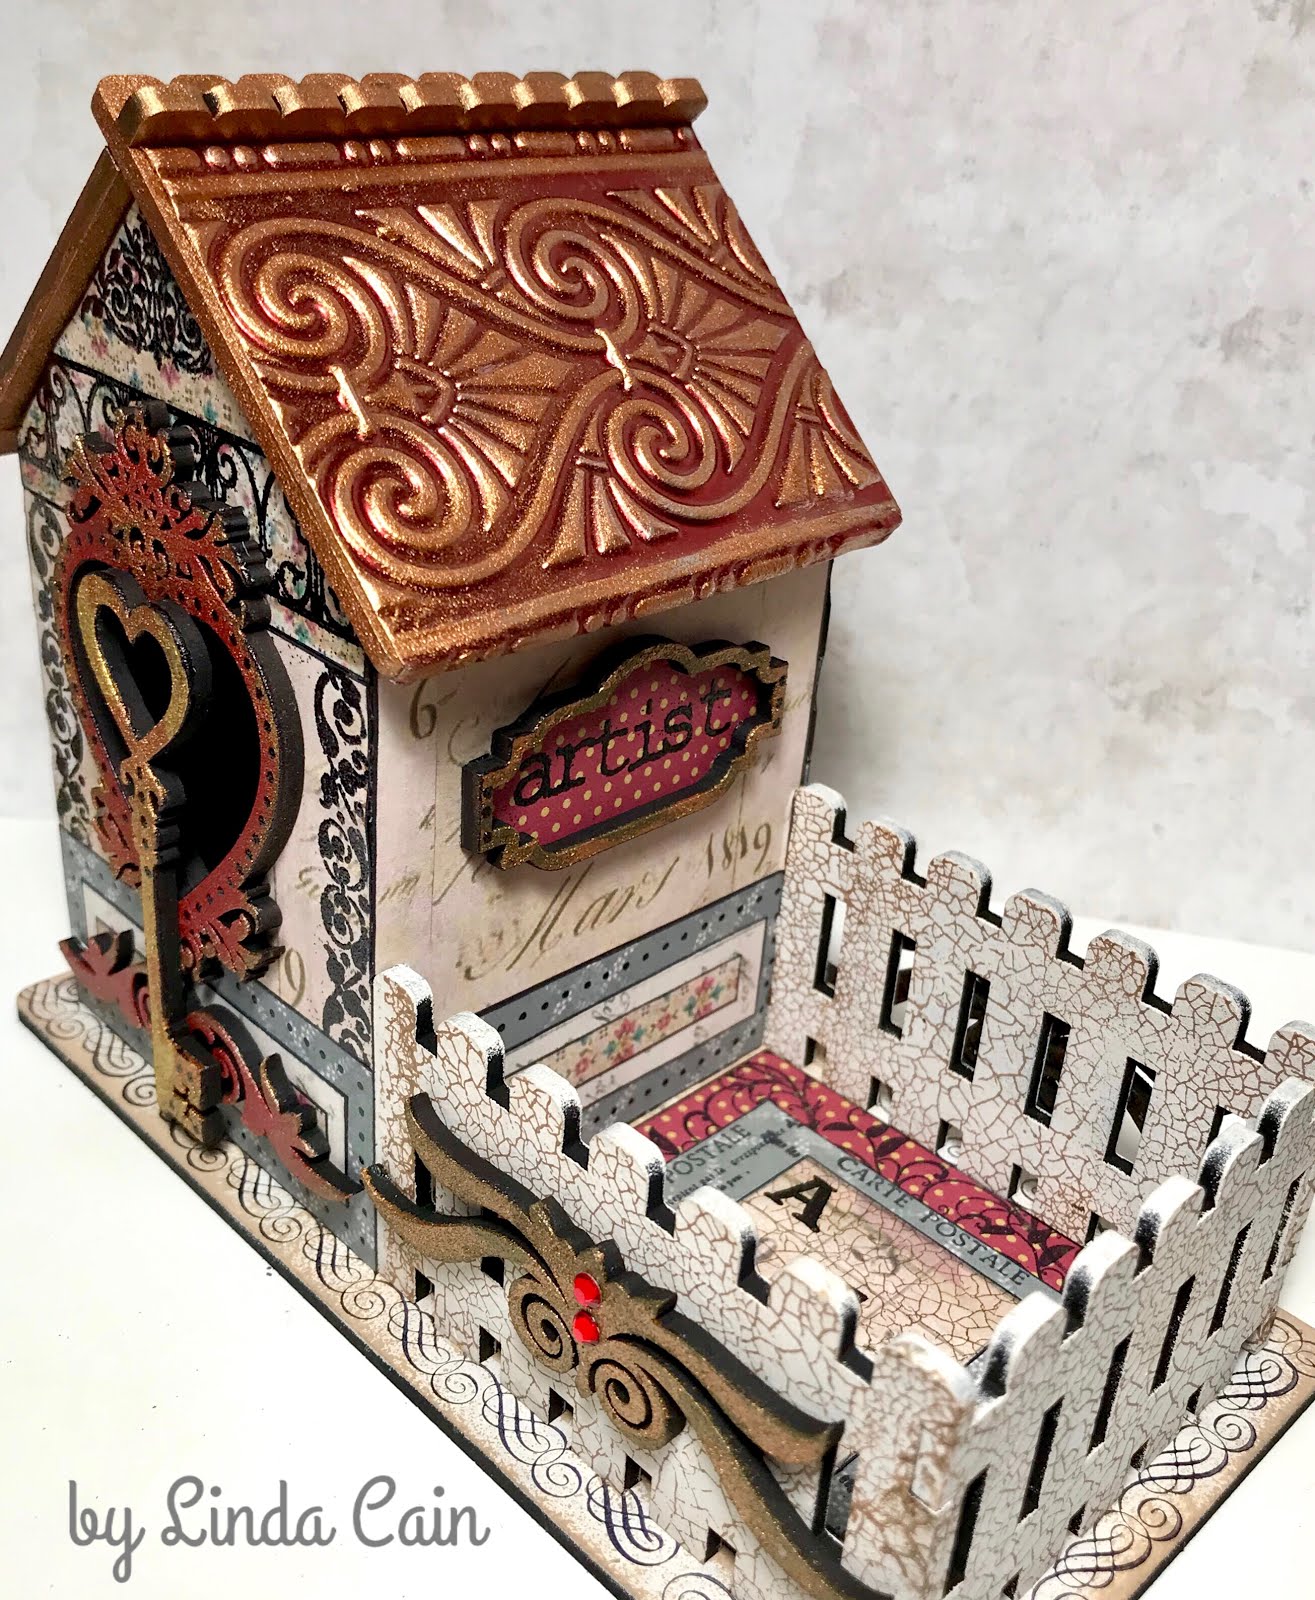
When you use metallic paints, it is very hard to get a good photograph without total glare, so these are the best I could come up with. The edges are the great Rocky Road Baked Texture embossing powders. These are so cool! A brilliant product.


The little bottle is painted and crackled. It looks old, but it isn't of course. However, the key and the keyhole are vintage finds. The little chipboard squares are painted and then have Baked Texture Embossing Powders on them from Seth Apter.

The other metal elements are from Finnabair and her Mechanicals line.


This is a shot before I added the White Gold Metallique wax, and a few other colors, to the piece. It gave the metal elements a bit more contrast and shine. I think this is what I was waiting for. I always go for the contrast. I love how the dragon fly landed on the locket.


 The Platinum Texture Paste - Antique Silver was slathered onto the 8x8 canvas board and left to dry overnight. The thicker the paste, the larger the cracks. That's the secret to the great crackle. IMHO. This is a closeup of a small section. After it dries, I add paints and embossing powders,


A few months back, I was thrilled to get some of Seth Apter's new Baked Texture Embossing Powders. This shows you a plain piece of ruler from Finnabair that has been inked, stamped and then covered with the Vintage Beeswax. Pretty cool! 


I hope you enjoyed this little walk-through. It always takes me a long time to become satisfied with a piece. I look at it; walk away; come back and move things around; walk away again; sleep on it; and hope for an epiphany!!!

Sometimes it works, and sometimes it doesn't, but this time I'm glad I kept coming back. Let me know what you think.

Your Friend in ART,
Linda

Tuesday, January 22, 2019

An ATC Cottage House with Metal Roof

Hi everybody!!!

It's been way too long. A lot of water has gone under this bridge, but the most was when my old computer died and I decided to go to a new system....a Mac....and it's so much different than I'm used to working with. Old dogs...new tricks phrase comes to mind.

Anyway, it's a new year, and I'm sure I can get back into this blog stuff again with the latest, and pretty much favorite, kit of all time from Retro Cafe Art Gallery!!! Kristin REALLY knocked these little guys out of the park.

This is the Style 2 with the heart opening. There are 3 styles so check them out.


I used PaperArtsy Fresco Paints for the light colors on the base and fence and added stamped images with black and sepia archival inks.

The ATC coins and cards will fit perfectly in the "courtyard" area of the kit.


Stamped papers are added in layers all around the pieces before gluing. This also can be done after you put the house together, but I've always tried to challenge myself to doing it before. It works either way.


The Metallique paints from Finnabair painted on the cutouts for the front and back add just a bit of shine. I also stamped and heat embossed images to the papers to create a really dark contrast on the lighter colored papers.

The Heart Skeleton Key is perfect with Victorian Flourishes and Label Pull Style Frame Cut-Outs as added embellishments.


Little signs with ARTIST stamped in the center go perfectly on the two ends.


The crowning glory of the piece is of course the metal embossed roof that I accidently ran across in a box while looking for another project. It was hidden behind other pieces on my shelf unit and I hadn't opened it in maybe years.

 The metal is either hand-embossed with a paper stump on a plastic mold, or run through a die-cutting machine. The metal is already colored red, and you remove the color from the raised area to show the silver underneath. But I wanted copper, not silver, so I lightly brushed on copper paint to change the look. Both metal and mold are from Ten Seconds Studio.


The strange thing about finding the metal was there were 2 pieces almost the exact size I needed for the roof and one actually had the red-line tape all ready to go!!!

So a bit a trimming, and on it went. I rolled the metal under the lower edge, and it was done. 

I believe in luck and amazing unknown guidance.


You can take the roof off and store all sorts of things in the base.....or not. The choice is up to you.


I hope you're inspired just a little bit to go and create something that just makes you feel good. It's freezing cold here, and dead of winter, so it's easy to stay inside and have some fun. Thanks Kristin for a great new set of kits!

As always, any comments and questions are welcome, and I remain,

Your Friend in ART,

Linda